
Many people have spent hundreds – even thousands of dollars – upgrading their house’s decor and design.
But do you know that the best way to improve its outlook is to start with basic elements – the baseboards and doors? Simple, regular cleaning procedures for these parts can increase the visual appeals tenfold – yet few people have ever paid them attention.
Today’s article aims to lend some help in this regard by detailing how to clean baseboards and doors. Let’s head in!
A. Why Is It Important to Clean Baseboards and Doors?
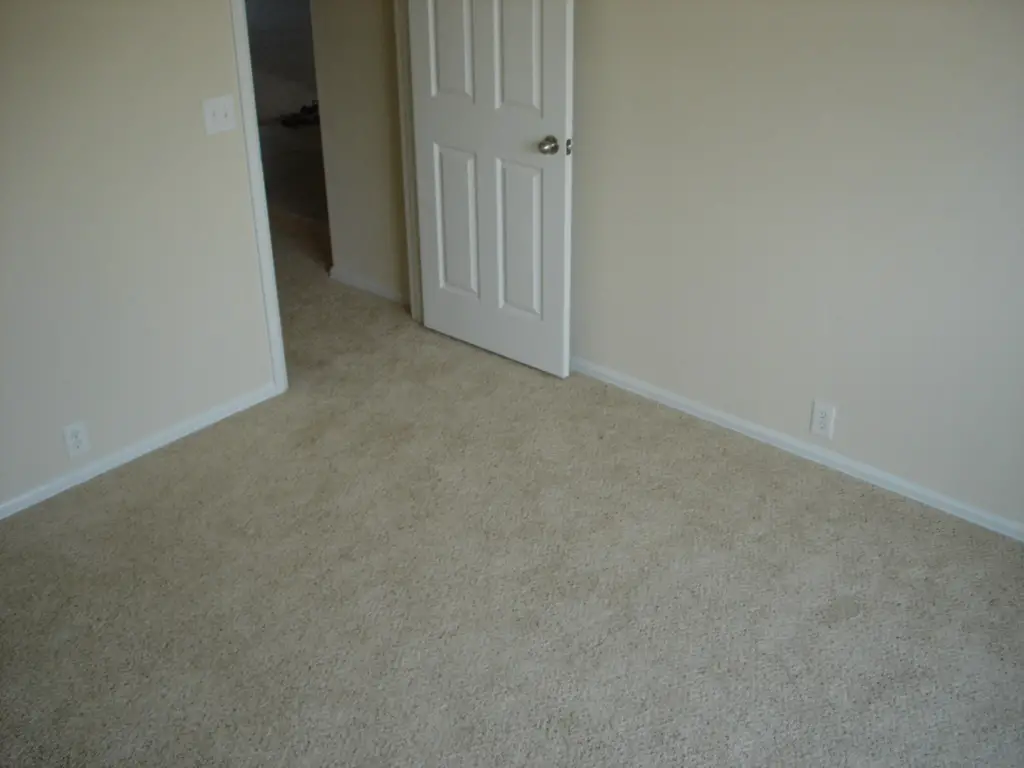
When someone steps into your house, baseboards are definitely NOT something they will notice first – which is why you tend to ignore them altogether. Why bother? Some may ask us.
But having a clean, tidy baseboard will lend your house a much neater outlook, giving visitors the sense of a luxurious home. Not to mention, who doesn’t feel at ease resting in a spotless room? Imagine spending hours of hard work at the office just to come home and stare straight into a black, dirt-filled baseboard.
The same could also be said about door cleaning. Plus, do not forget that bacteria and debris tend to pool on the door – especially the door knobs, frequently touched by your family members and acquaintances. Refusing to wash/clean them on a regular basis will only put everyone at severe health risk.
B. How to Clean Baseboards and Doors?
1. How to Clean Your Doors
a. Wood Doors
Step 1. Mix Mild Dish-Washing Soap and Water
Start simple with some dish soap and hot water. Dip a sponge (preferably non-abrasive) into that mixture to scrub the door’s wood surface.
You may also use small brushes (ex: toothbrushes) to work with the door’s crevices and corners. Once done, rinse all soapy residues with water.
Step 2. Clean The Door Around Its Edges
Now open the door wide. Use a damp, clean cloth to wipe all the frame’s edges. You might have to rinse/wash the fabric multiple times to ensure the best efficiency – especially for significant dirt or dust buildups.
What if the debris still stays stubborn against your wiping? Feel free to add more mild soap to the damp rag (and make sure to clean off those soapy residues after finishing).
Step 3. Rub The Door Using Mineral Spirits
Add some spirit drops to a soft, clean rag till it feels damp. Note that some shops call mineral spirits “paint thinner.” Regardless of which name it goes by, this product is easy to purchase from any local store.
Next, wipe the door surface and trace your hand movements with the wood grain. Such strategies will help remove even the most brazen grime or dirt.
Step 4. Wipe Some Furniture Polish Liquid
Apply one or two layers of polish liquid on the wooden doors, then use clean dishcloths to rub it deep into the wood grain. That will clear off the remaining stains, returning a natural sheen to your door.
Step 5. Use Steam Cleaning Machines
Buy a steam machine (those with hose attachments will be the best). Find the bristles near the end to add some soap there.
After that, let the steam spray on the dirt wood and stain; move your hand consistently left and right over the stained spots. Whatever smear and debris there is should vanish right after that.
Step 6. Remove Varnish or Old Paint
Does the door suffer from old paint or any other unwanted vanish? It’s time to remove them using one of the two options: sanding (quite time-consuming if you ask us) or chemical strippers.
Tips for the latter:
- The chemical-stripping method must be carried out in ventilated areas with appropriate precautions (ex: wearing gloves and dust masks). It works particularly well for exterior gates and doors.
- There are many chemical stripper types – wash away, brushable, and liquid. Feel free to choose one that you like best! Then simply apply them to the door and leave them there till dry. Lastly, brush or rinse all the remnants.
Step 7. Let The Door Thoroughly Dry
Ensure the wood can dry thoroughly by wiping all water and liquid with clean towels. Otherwise, an ill-sealed wood door will pave the way for moisture increase, causing stains and warps over time.
Want it to dry faster? You may put a huge box fan right at the front.
b. Fiberglass Doors
Step 1. Prepare The Cleaning Area
Clear up all items that may get in your way (ex: carpets and seats). Plus, open all the windows around the space to ensure it’s breathable enough.
Step 2. Sand The Door
Sand the fiberglass before cleaning it, which will help the cleaning solution stick longer. The best bet will be coarse-grit sandpapers, which keep the shine intact without growing dull.
Never get the paper past your door’s gel coat; otherwise, it will cut straight into the glass fibers.
Step 3. Clean The Door With Acetone
Paint thinner (also known as acetone) is a wonderful cleaning solution for fiberglass, easily dealing with even the most stubborn stains (ex: oil).
First, dip a rag in your acetone solution. Next, smear it across the stained fiberglass. Leave the door for a bit to allow your cleaner some drying time.
Step 4. Tackle Caked-On Grime
Considered a common stain, these grimes are thankfully very easy to handle with some homemade remedies.
For starters, mix some water and baking soda to create a paste. Then apply this paste to the stains. Wait at least 12 hours (half-day) for the solution to sink in.
The paste might turn brownish at some dirtier spots. Clean them off with soapy water. And you are all set!
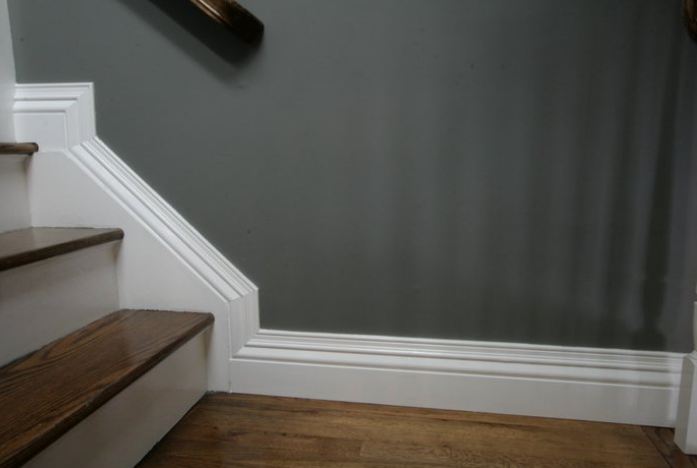
2. Cleaning Baseboards
a. Painted Baseboards
Step 1. Vacuum the top trim and ledges while paying more attention to small crevices (ex: corners, where the trim and floor meet, etc.).
Step 2. Mix dish soap and warm water, then dip your sponge into it. Use the sponge to scrub away scuffs; feel free to add elbow grease for more brazen grime.
Step 3. Cotton swabs are terrific for extremely difficult/small spots. Dip one into the cleaner, twisting and pushing it in all spaces and corners to ward off the dirt.
Step 4. Dampen a microfiber cloth with hot/warm water. Wipe it down the baseboard to remove excess cleaner residue.
Step 5. Rub a dryer sheet along the baseboards. It creates a solid barrier against dirt and dust, keeping your house clean and beautiful for at least a month.
b. Smeared Wood Baseboards
Step 1. Vacuum the baseboards (just like Step 1 for painted baseboards), then wipe them with dry, clean cloths to get rid of stray dirt and dust.
Do not leave behind any fiber that may get stuck in the splintered wood.
Step 2. Mix dish soap, vegetable oil, and warm water in one bucket. Dip a sponge into this solution and start your scrubbing. To avoid messes, only apply very little cleaner each time.
Step 3. Rinse the sponge with warm/hot water, wring it, and wipe the baseboard to remove cleaner residue. Only the vegetable oils are left to coat the wood.
Step 4. Buff the baseboards with a clean cloth. Finally, wipe them one last time using dryer sheets.
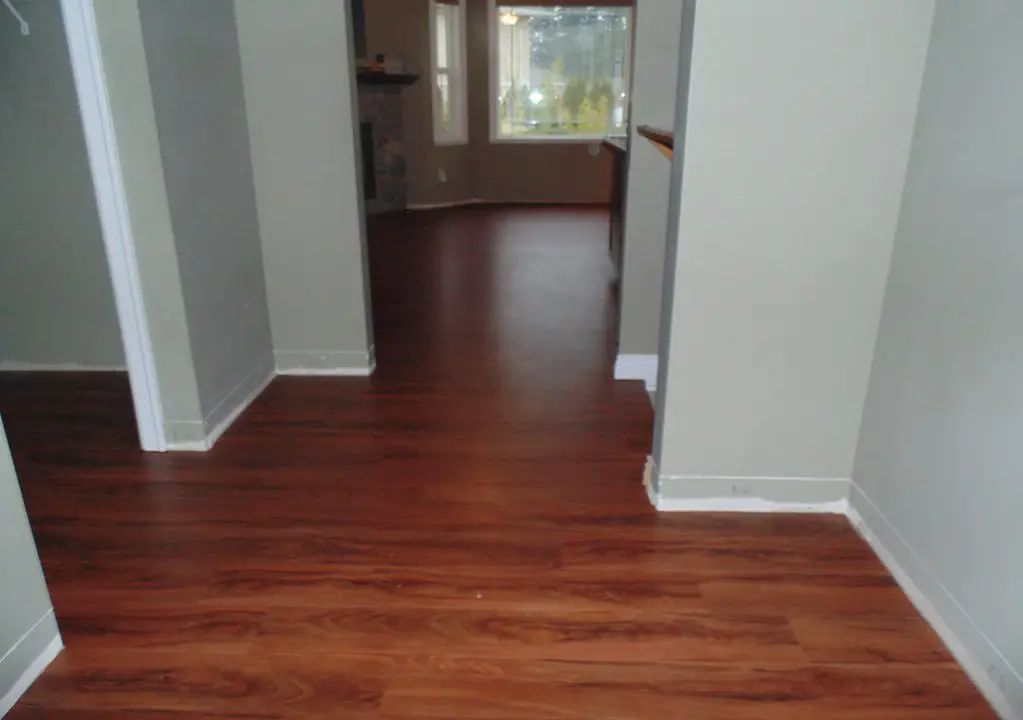
C. How Often Should You Clean Baseboards and Doors?
You can leave the baseboards untouched for at least a month before they need another cleaning day.
Meanwhile, doors will need much more frequent maintenance than that, as they are the perfect nest for harmful bacteria and mold. Try to clean your doors 2-3 times a week.
Conclusion
Our insightful guides on how to clean baseboards and doors will hopefully be of great help. We cannot wait for our readers to share stunning photos of their houses in the comment sections!
For more support, please tell us right away via comments or inbox.